Configure and schedule a wellness form
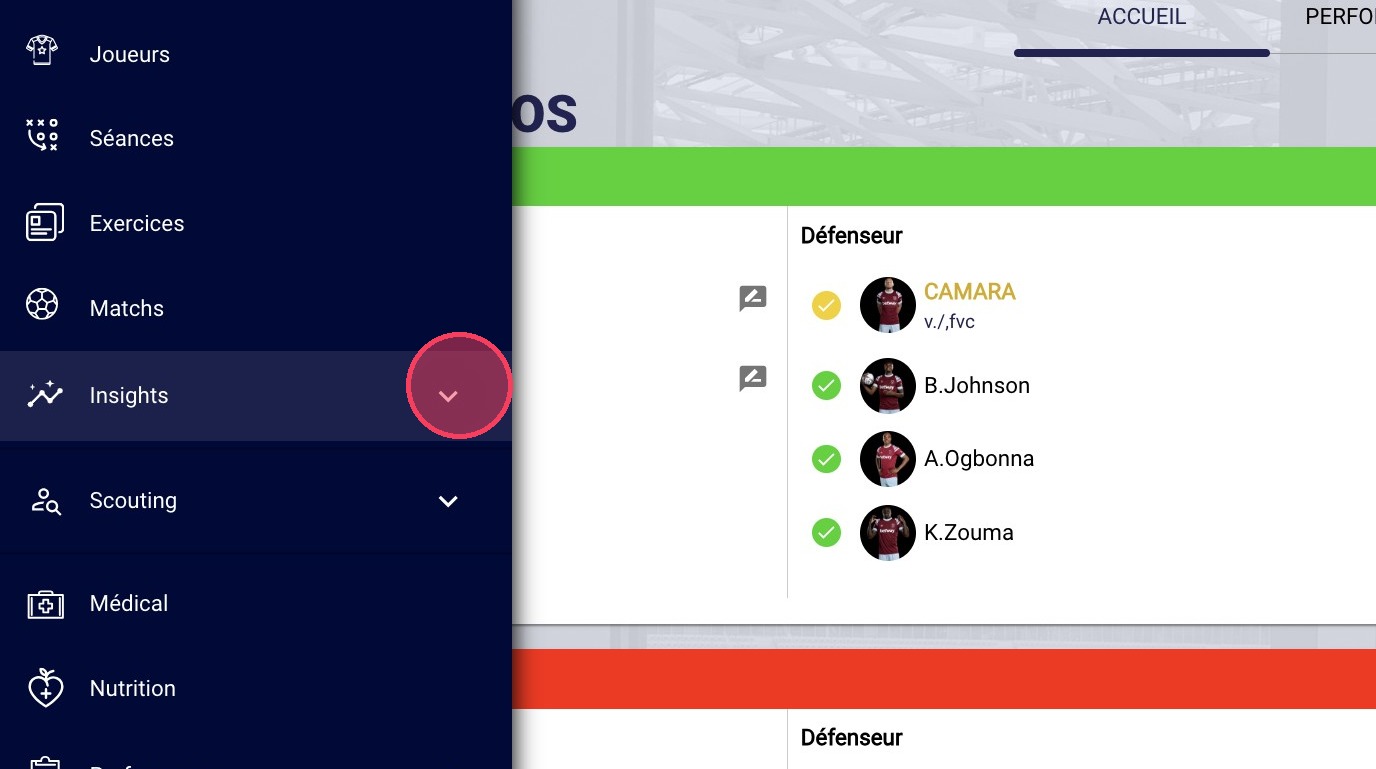
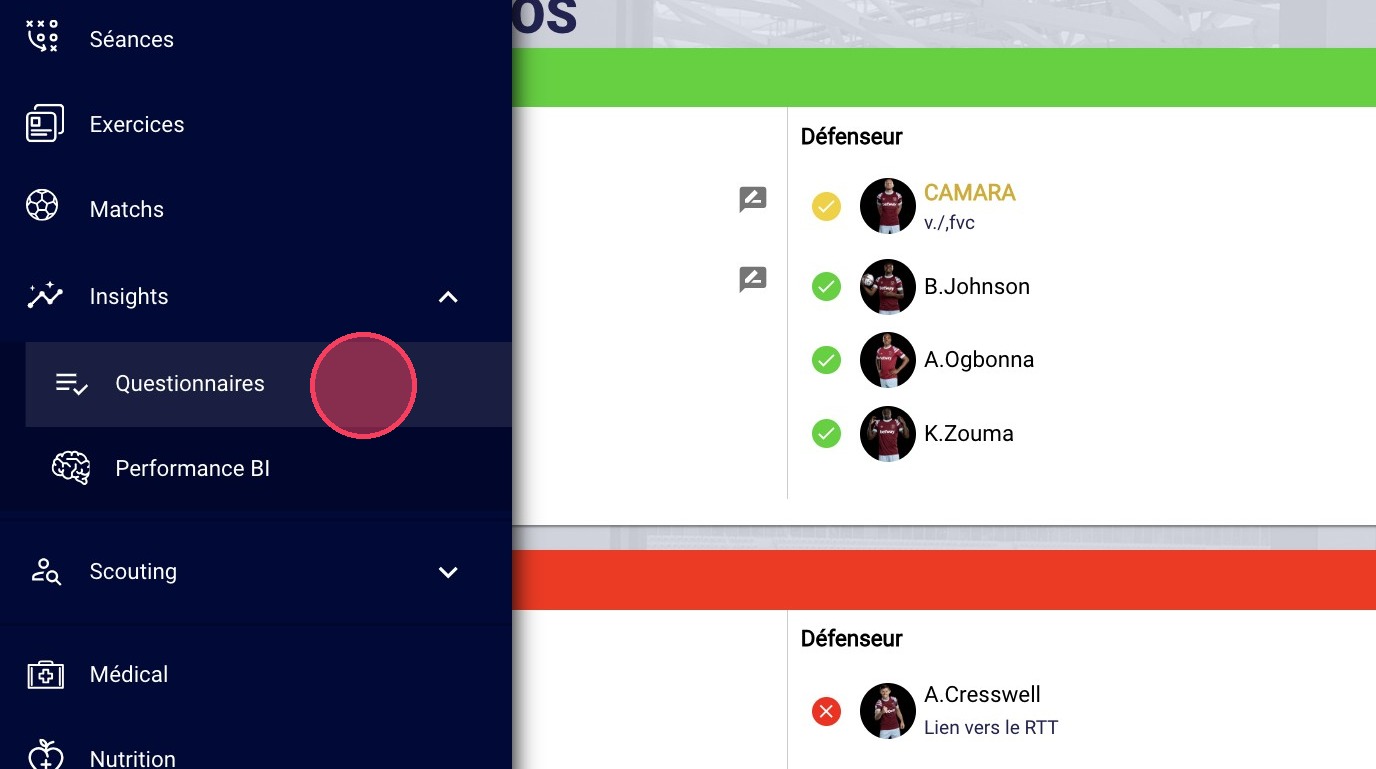
- To configure any questionnaire in MyCoach Pro, click Insights > Questionnaires > Configuration.
(⚠️ Requires specific access rights.)
- Open the questionnaire configuration area.
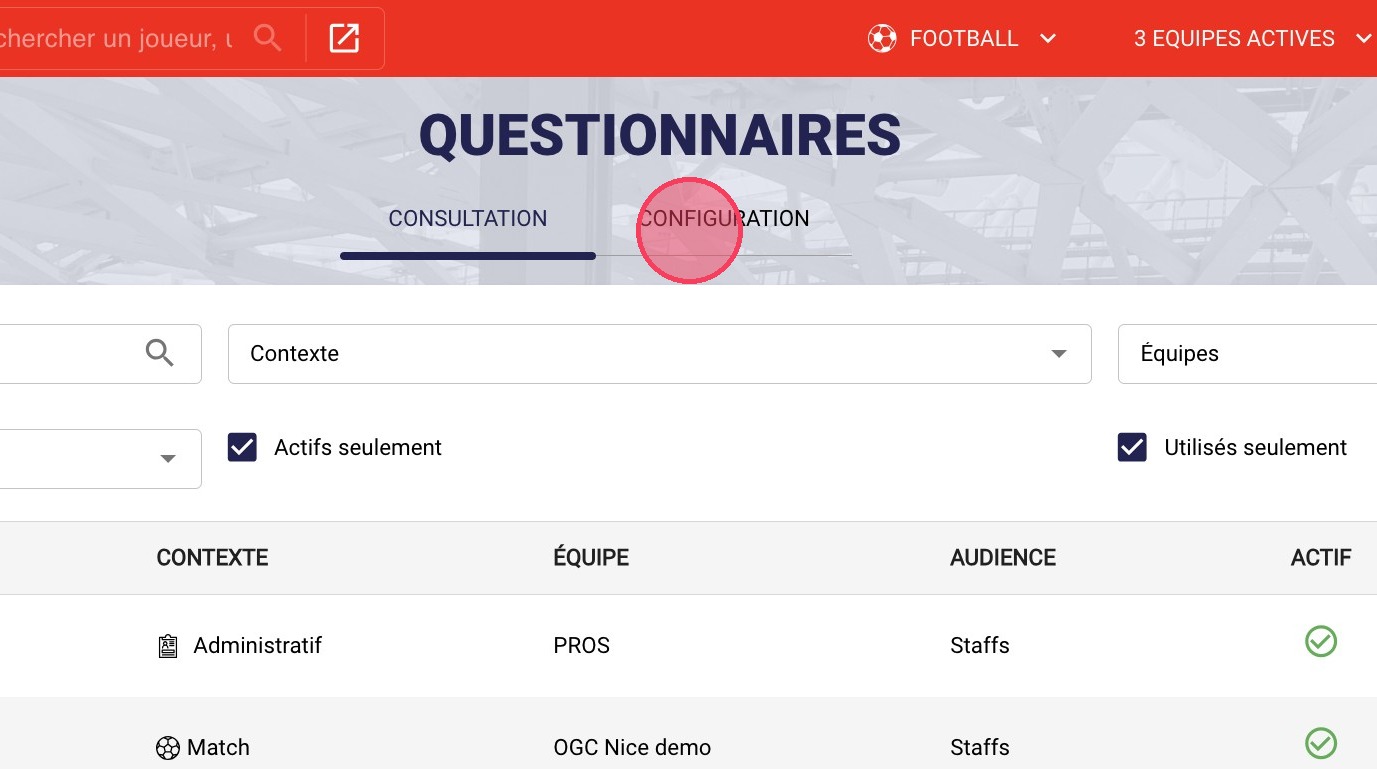
- Click CONFIGURATION.
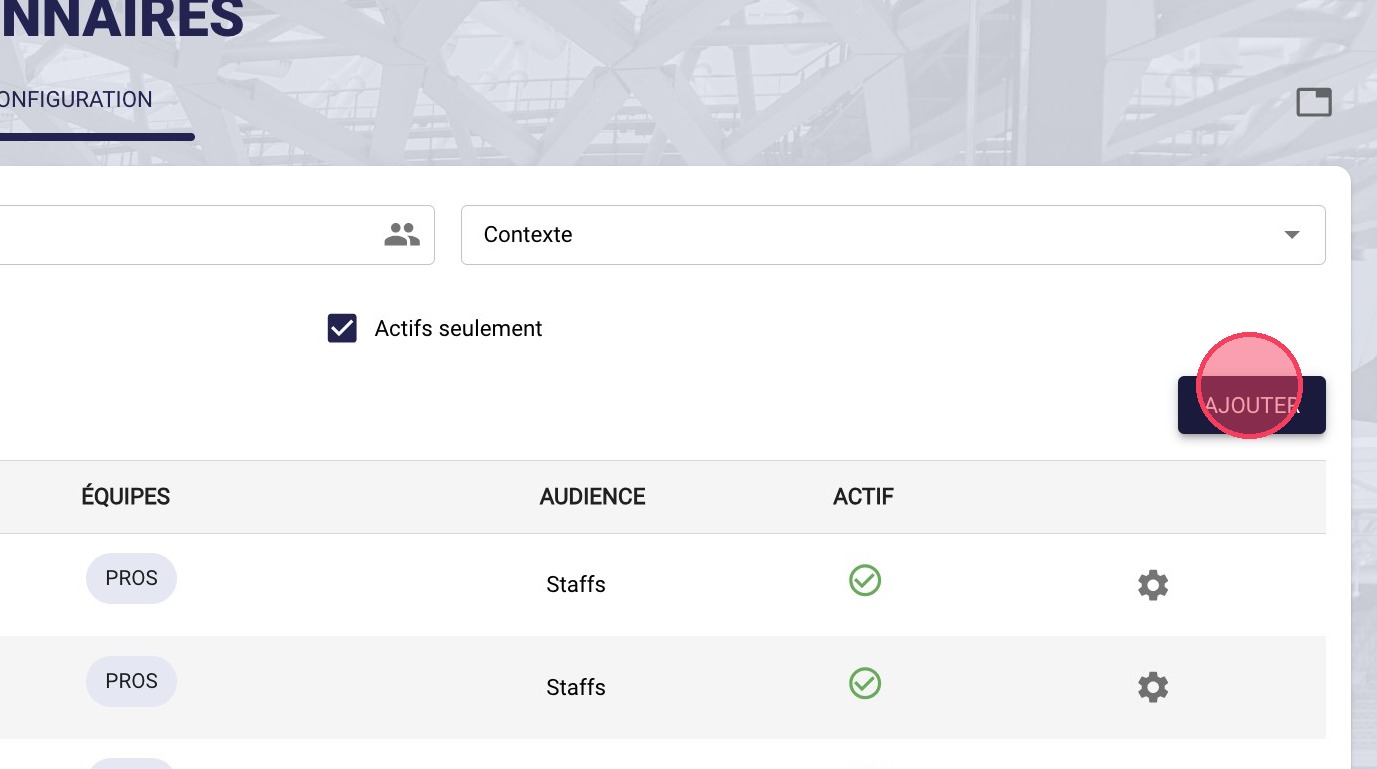
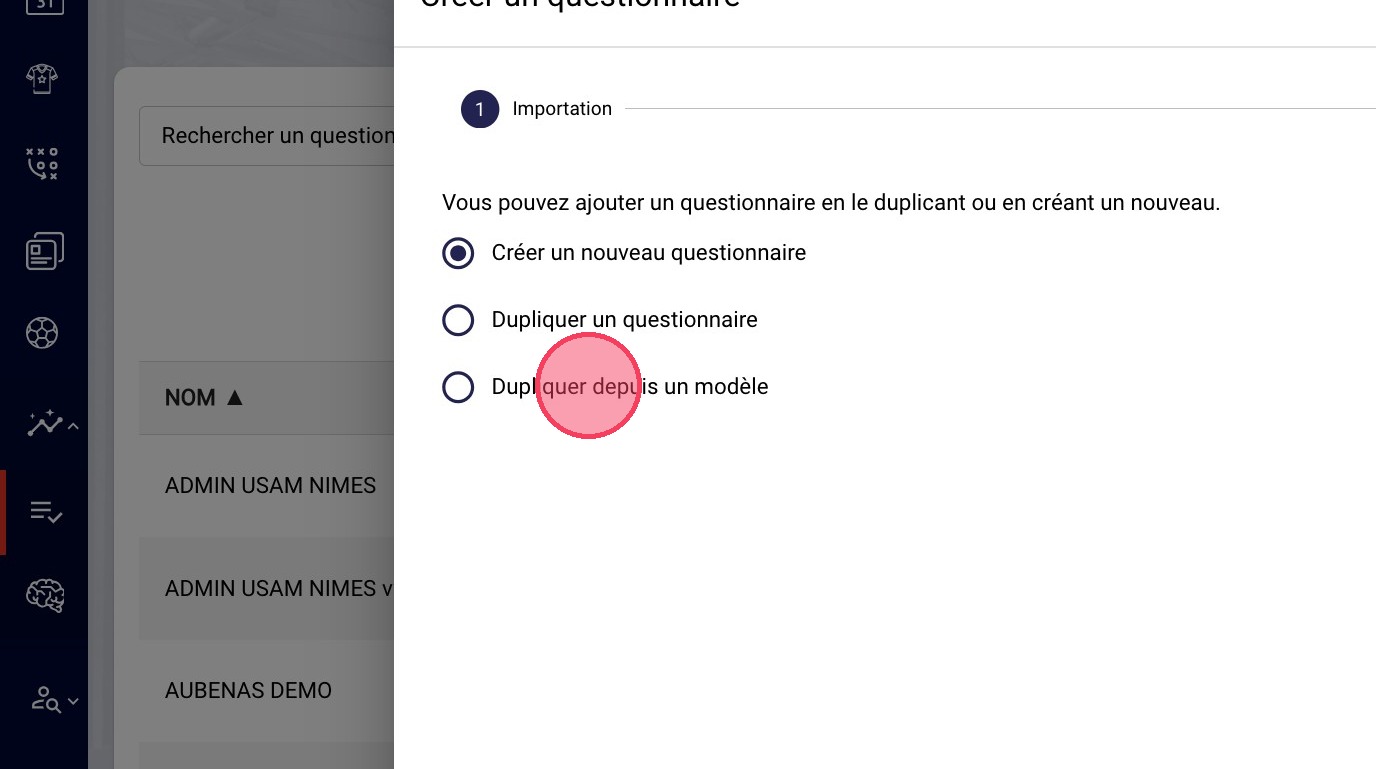
- Click Add.
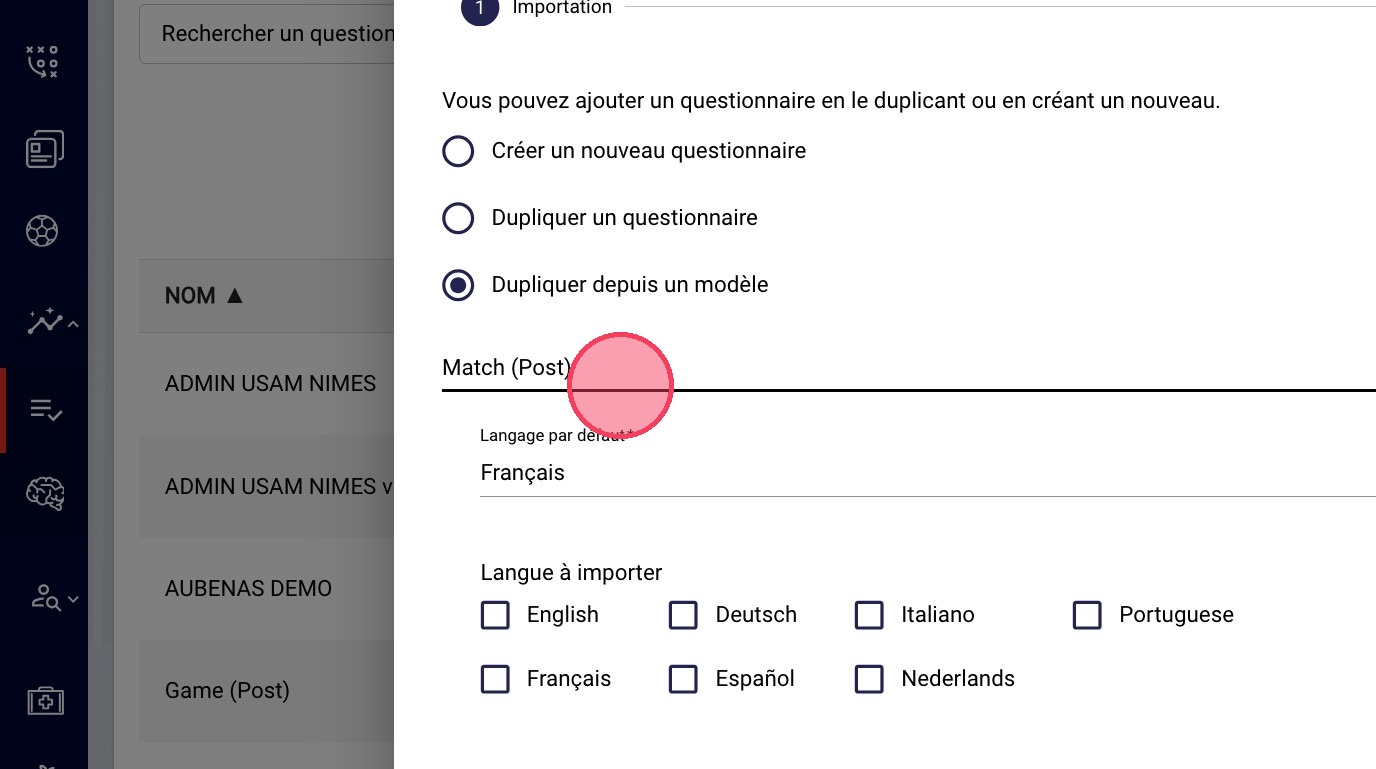
- Select Duplicate from template.
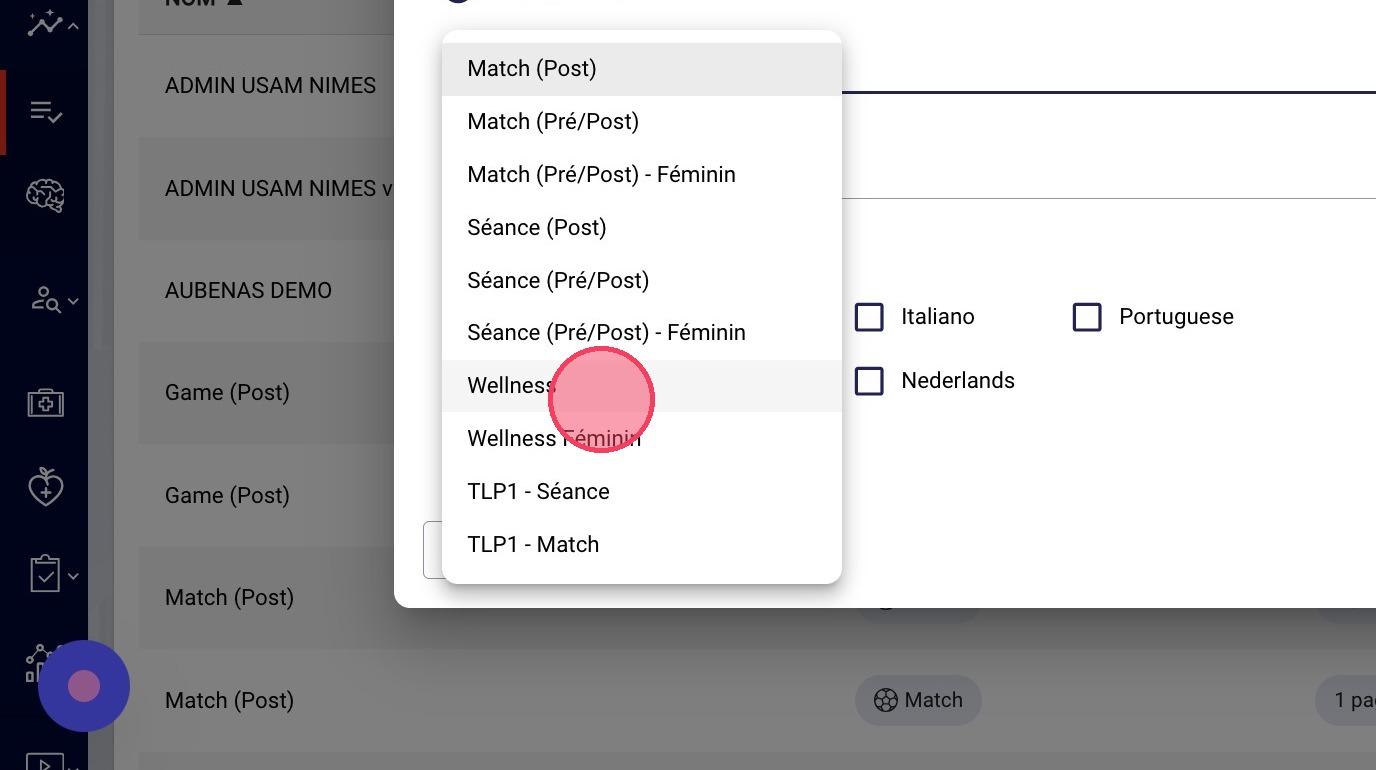
Then open the dropdown list and choose one of the two Wellness questionnaires.
- Check the form information and languages.
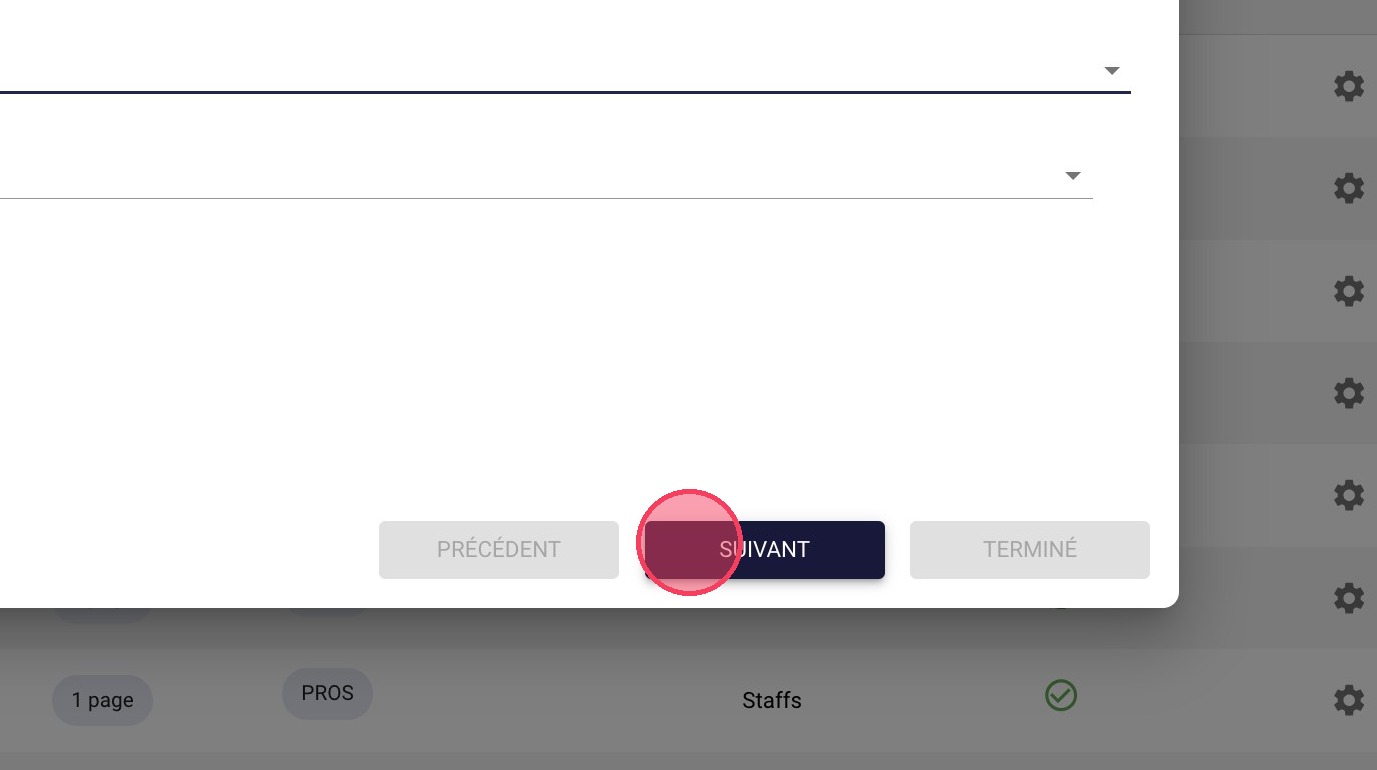
- Confirm the teams and visibility settings if needed.
- Click NEXT.
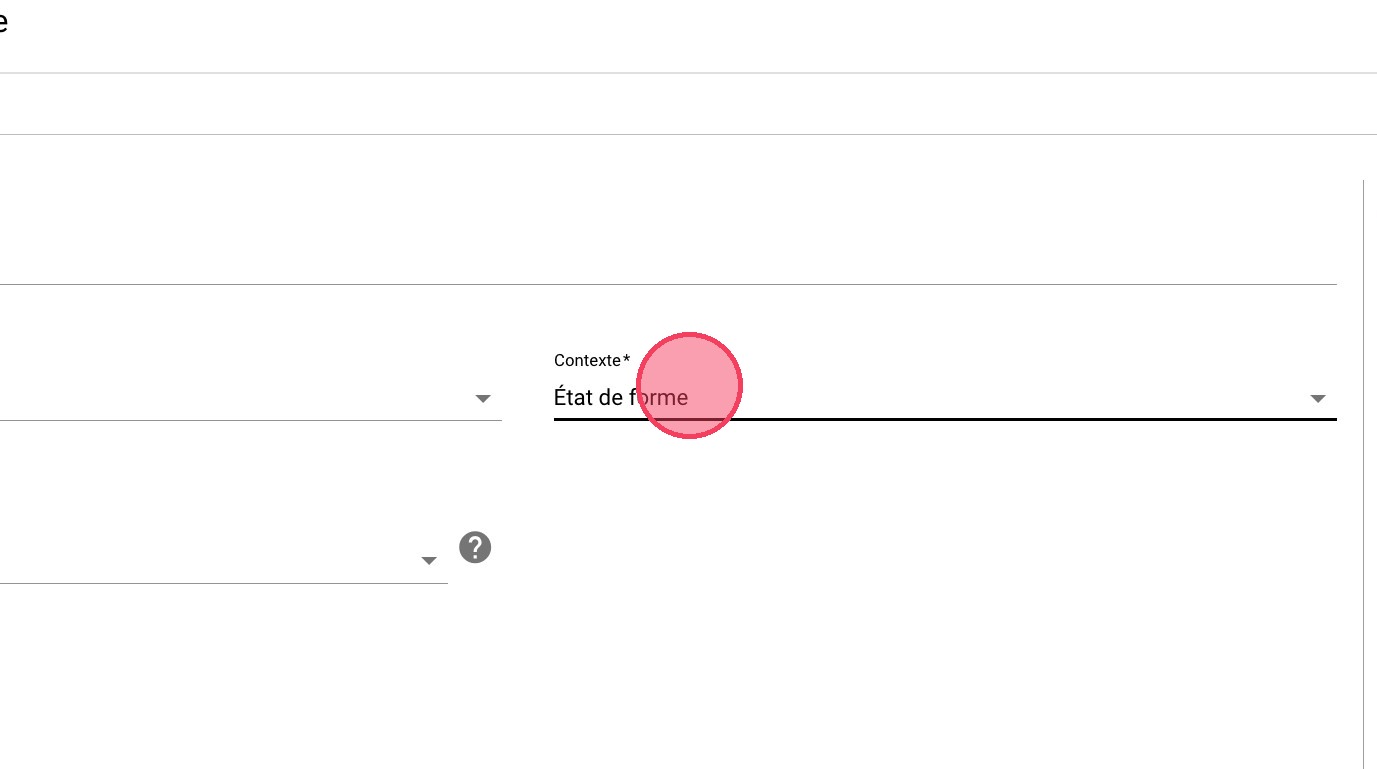
- The default context on this template is Wellness (player monitoring).
There are other contexts, but for optimal use of this questionnaire, keep Wellness selected.
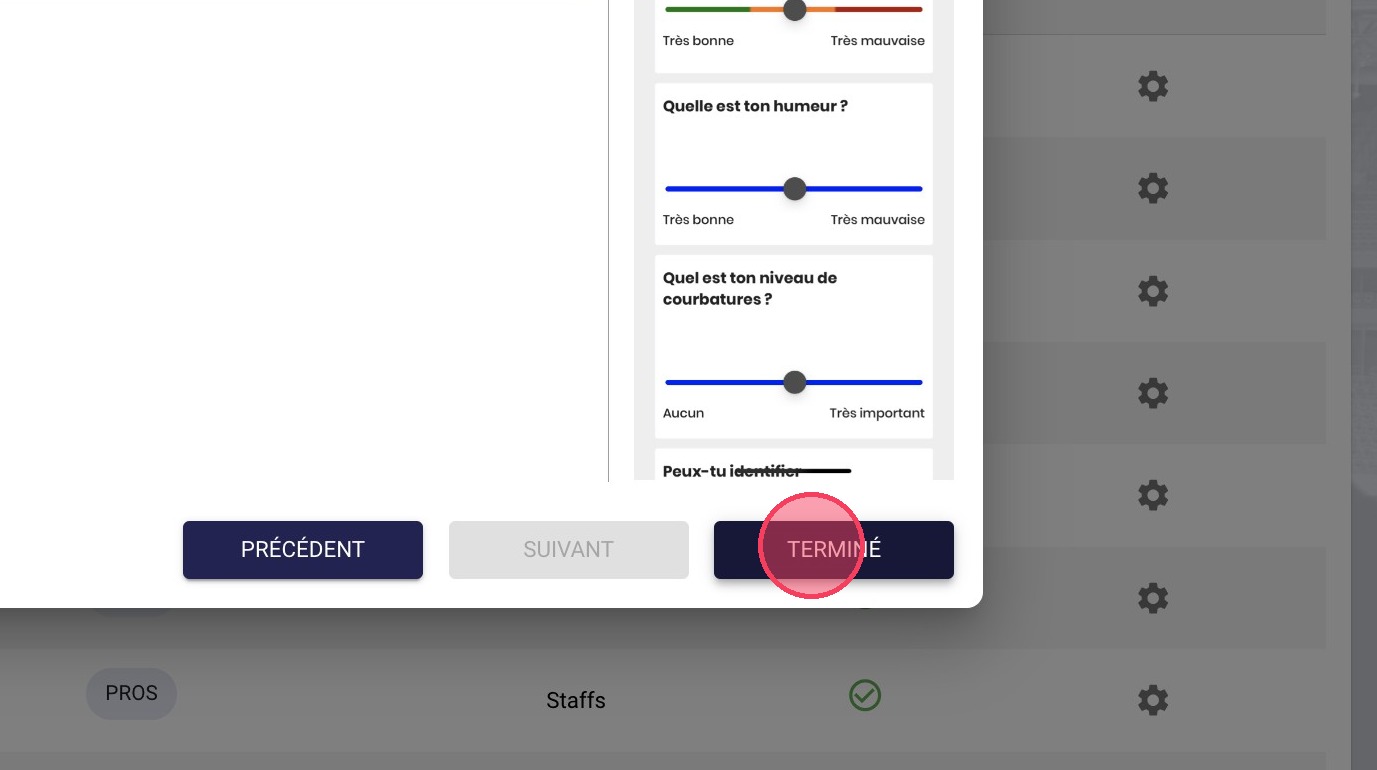
- Click FINISH.
Questionnaires configured with a player monitoring context are activated by default.
Schedule a player monitoring event
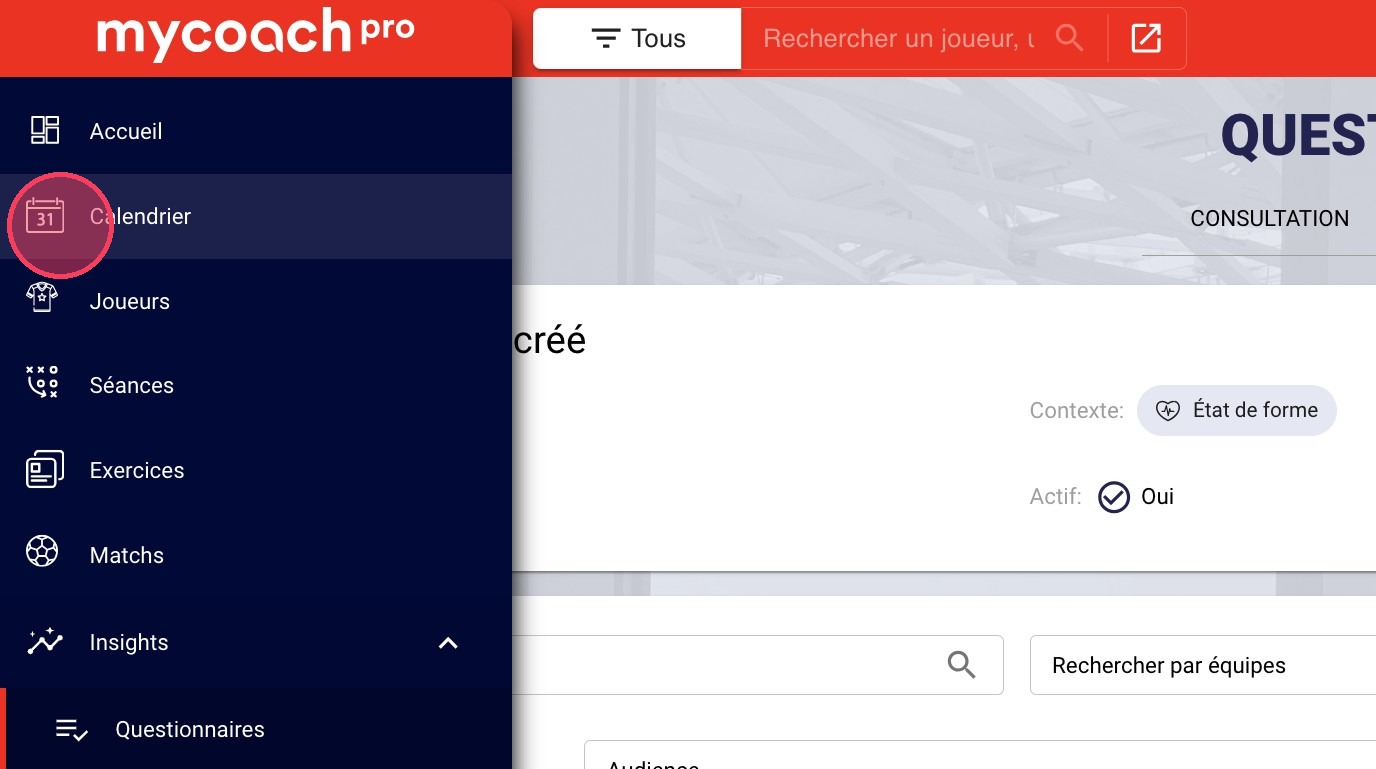
- To create or schedule a player monitoring event, click the Calendar module.
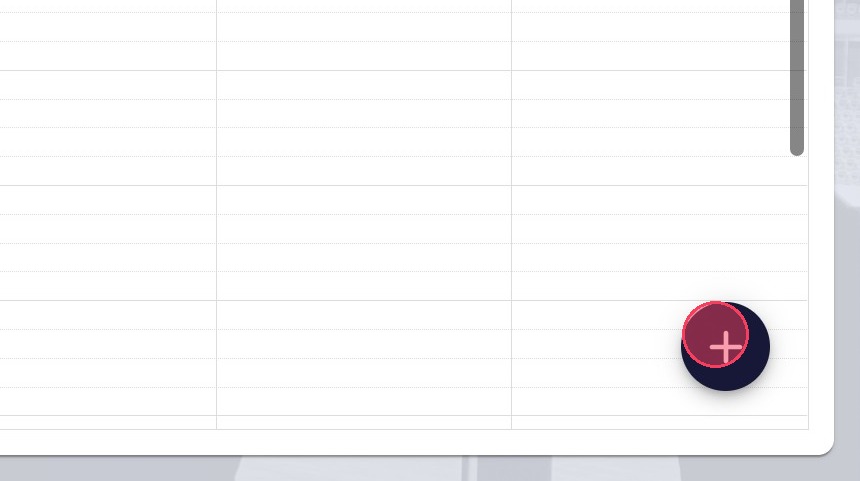
- Once in this module, you have two options to create events:
- Click the + button at the bottom right of your schedule
- Click directly on the desired date
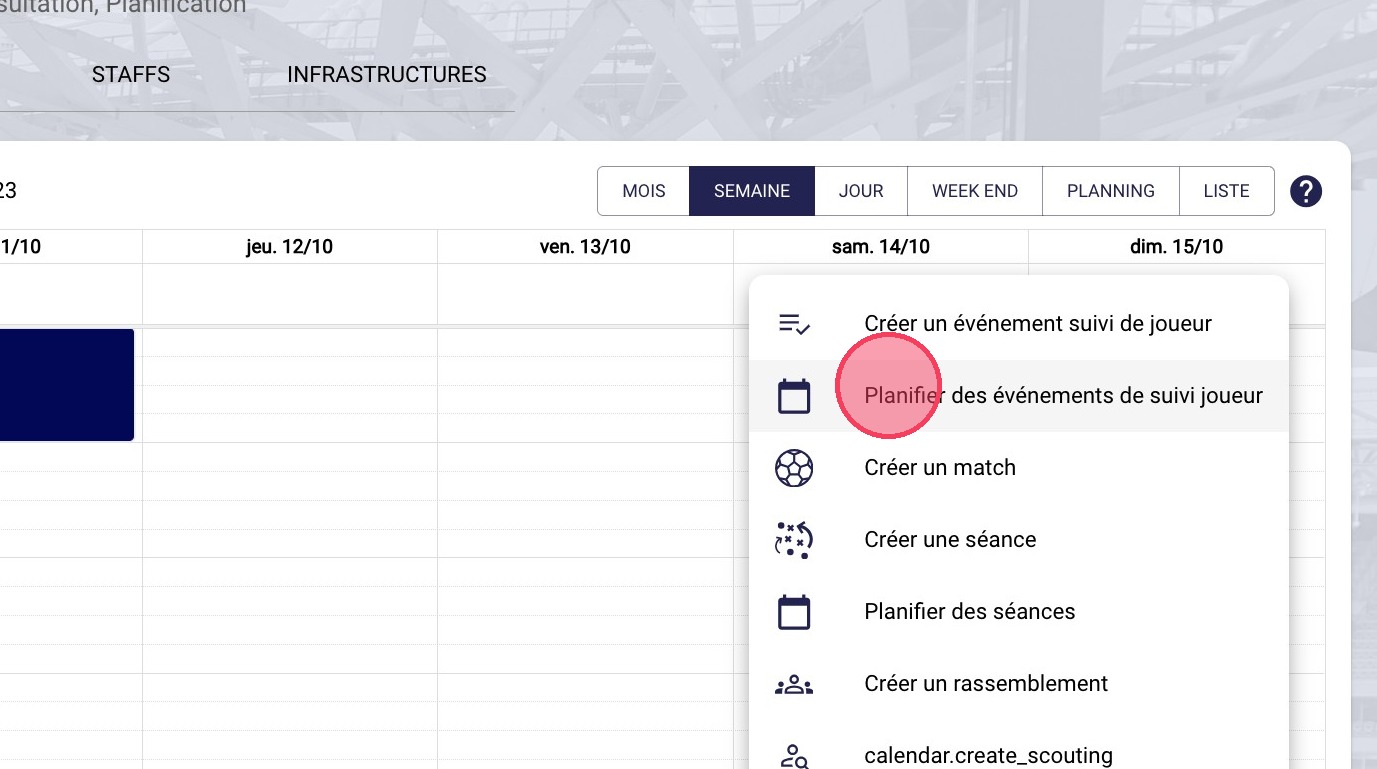
- Open the event creation options.
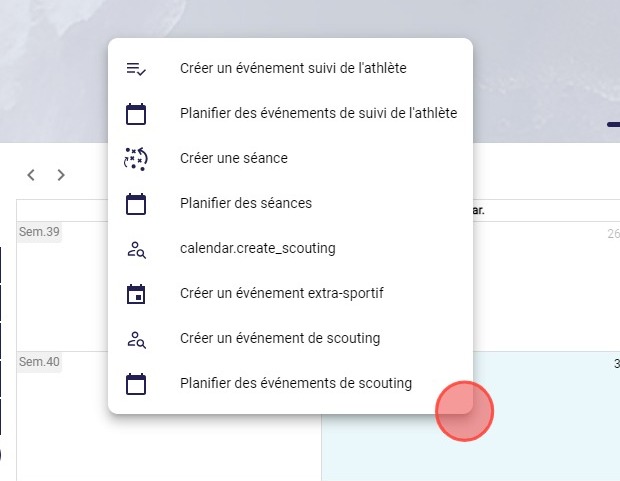
- Click Schedule player monitoring events.
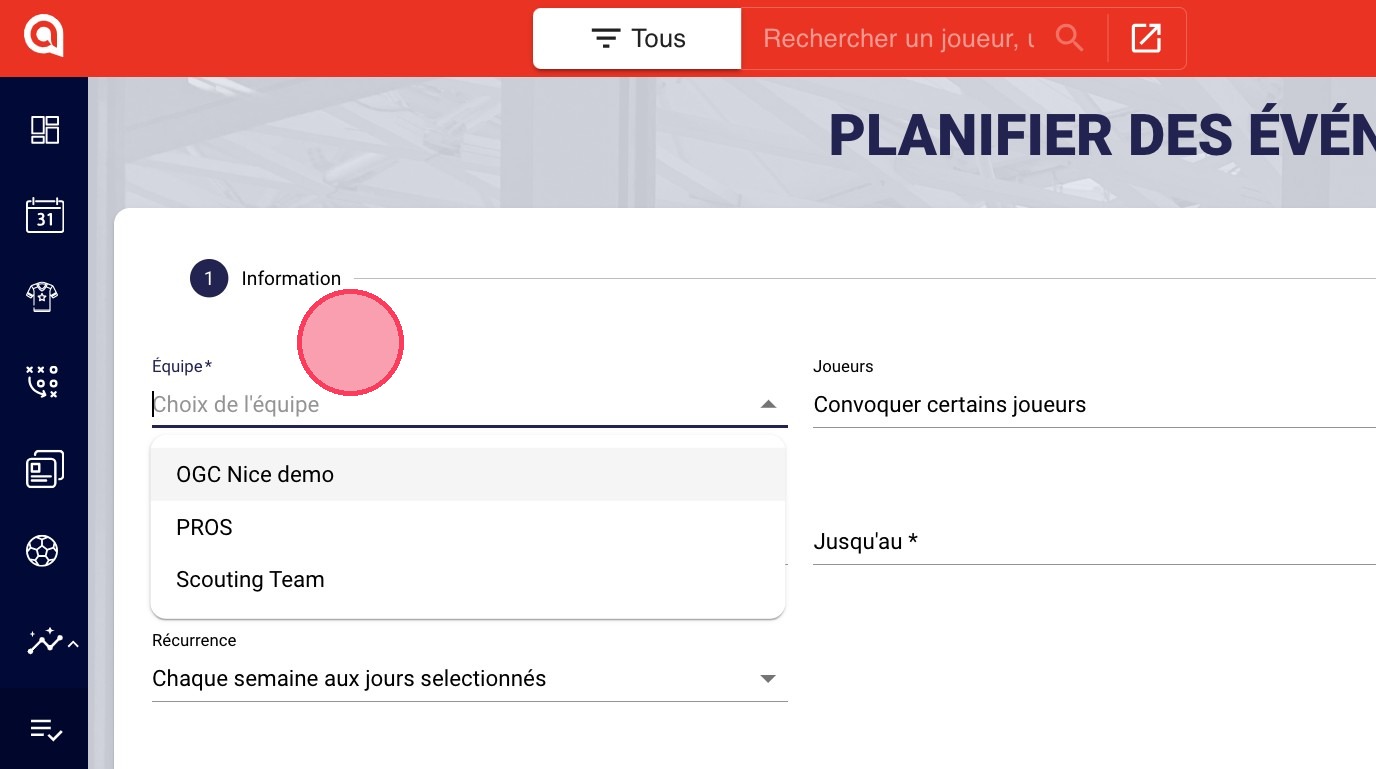
- Choose:
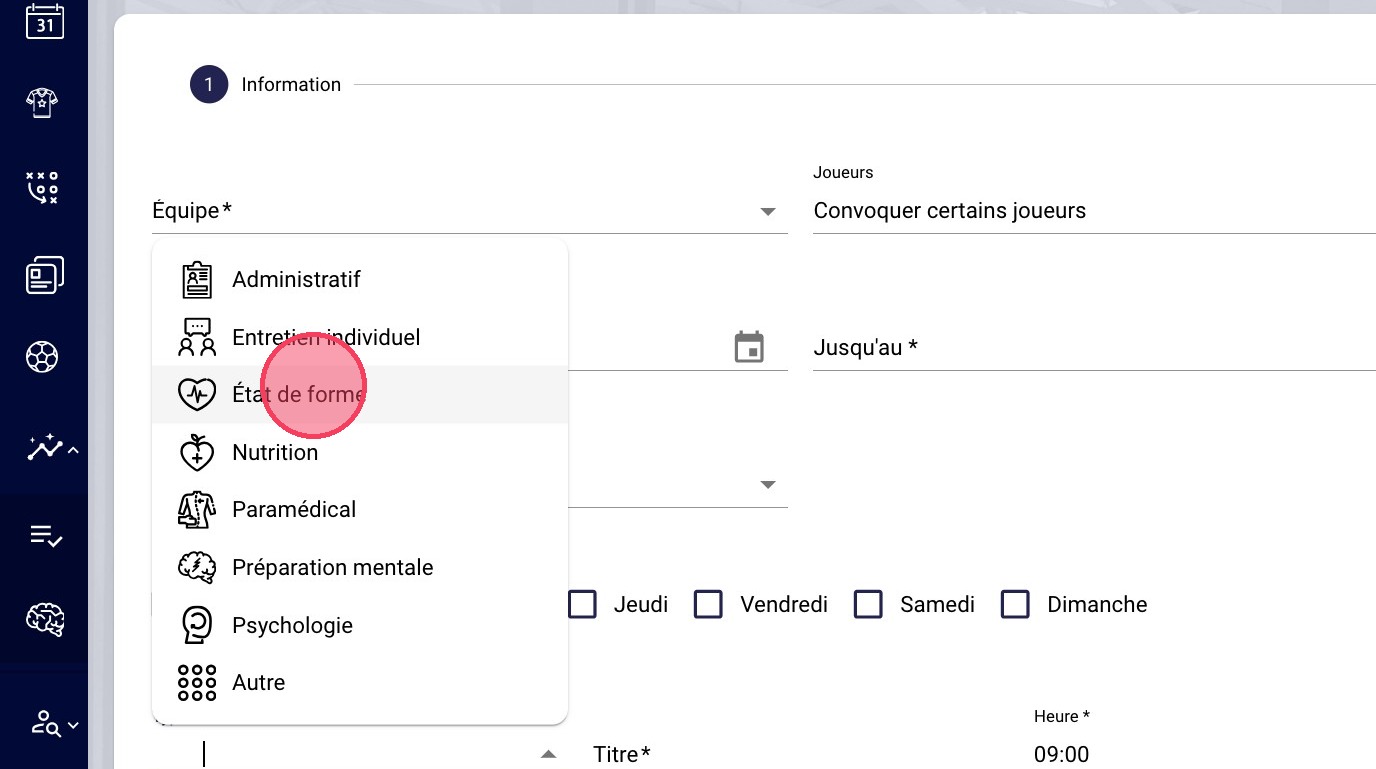
- The team concerned by the event
- The type of call-up
- The date range for the planning
- For the questionnaire you created to be available, you must choose the correct event type (context).
Our questionnaire was configured with the Wellness event type.
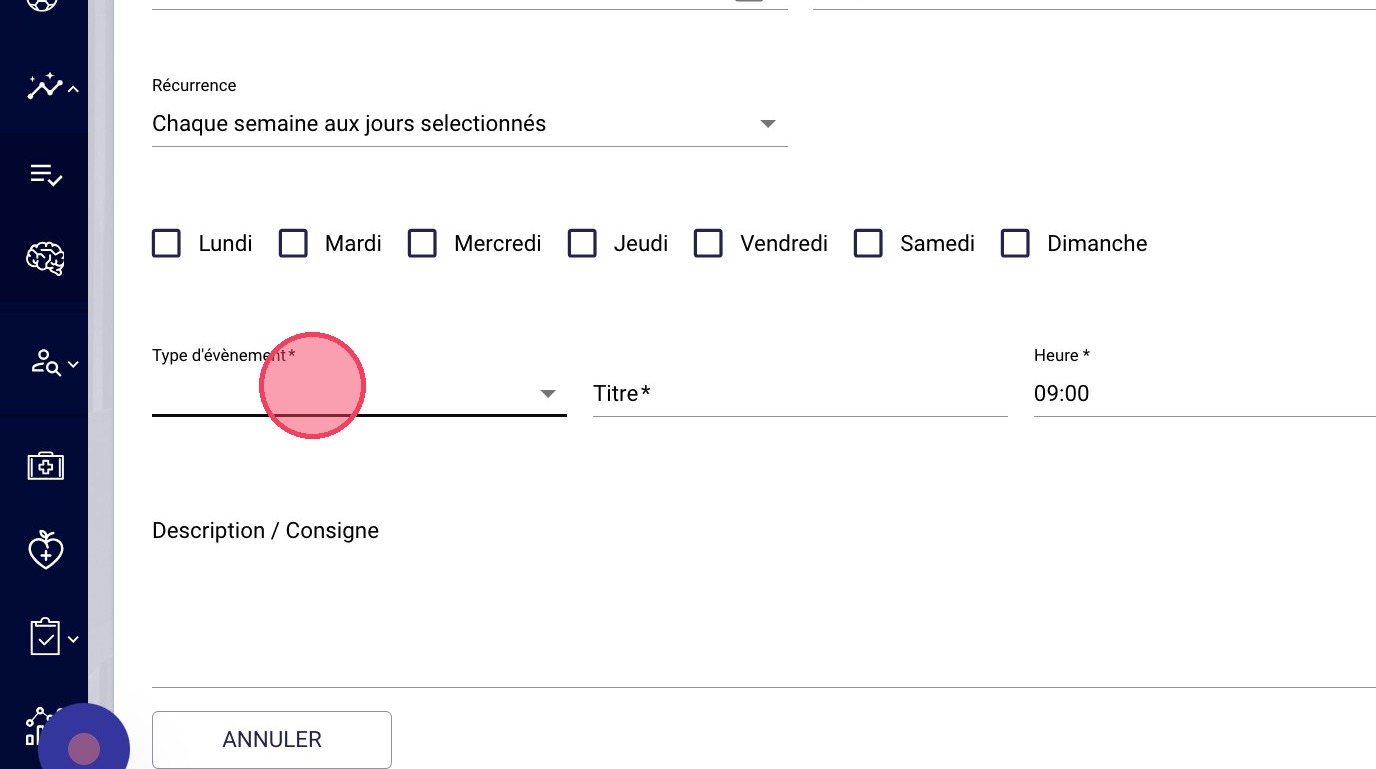
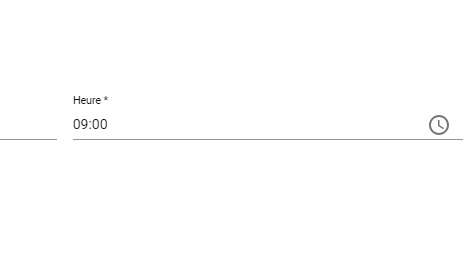
- Define the time and repetition pattern if needed.
- ⚠️ When you choose the time of your event, this is the deadline by which you expect an answer.
Your athletes will receive a notification 90 minutes before the event, up to 6 notifications in total until the scheduled time. ⚠️
- If you followed all the steps correctly, your questionnaire should be selected automatically.
Give the event a title and choose its duration (this only affects the visual height of the event in your calendar).
If you click NEXT, you will see a summary of your planning.
You can also click FINISH directly.

- Your planning is now created.
